Monster Maker Controls
Learn the workshop inputs that prevent bad mirrors, wrong part types, and missed animation tests.
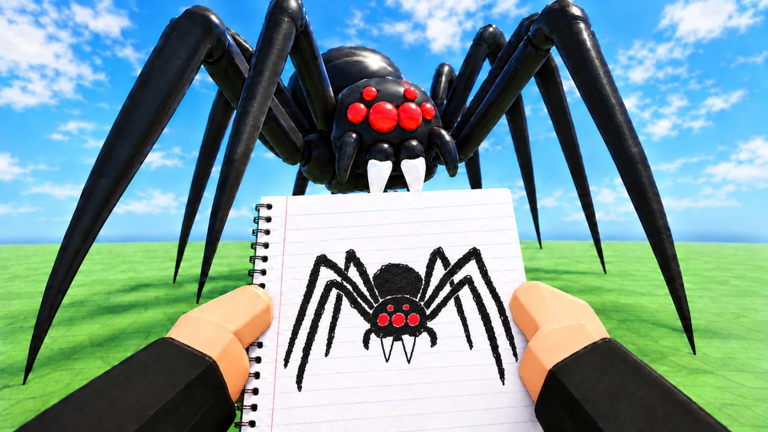
Mastering Monster Maker controls is less about memorizing every icon and more about a reliable order of operations: select the right part, set its type, place it, mirror carefully, then preview motion. This guide explains that workflow for the Roblox creature sandbox so Getting Started players stop fighting the UI.
Button art can shift after patches—especially during the rapid November 2026 cadence—so treat labels as concepts. If an icon moved, hover nearby shop/currency clusters and open tabs you previously ignored.
Core control concepts
| Concept | What it does | Beginner tip |
|---|---|---|
| Camera orbit / zoom | Inspect silhouette and clips | Zoom out before judging proportions |
| Part select | Targets one mesh | Deselect before grabbing the torso by mistake |
| Move / rotate / scale (if exposed) | Adjust placement | Prefer small nudges; huge scales break sockets |
| Mirror | Copies one side to the other | Mirror only after typing |
| Part type | Arms / legs / tails roles | Recheck after every shop equip |
| Animation preview | Stand, walk, hit, slam, stomp, whip | Run the full battery |
| Shop / codes entry | Economy UI | See How to Redeem |
| Save / load | Persistence | Name versions |
Exact keybinds depend on device and Roblox’s current input map. On desktop, combine mouse drag with shift/ctrl modifiers when the client shows them; on mobile, use pinch-zoom and precise taps.
Recommended edit loop
- Frame the torso — Center camera on the core.
- Select empty socket or limb slot — Avoid multi-select accidents.
- Equip part from inventory/shop kit — Favor flexible pieces in Best Parts.
- Set part type immediately — Arm, leg, or tail before you fall in love with the angle.
- Nudge alignment — Shoulders and hips first; fingers last.
- Mirror — One clean action.
- Preview walk — If walk fails, do not decorate yet.
- Save —
controls_practice_v1beatsmonster.
This loop is the mechanical half of How to Make Monsters.
Camera discipline
- Orbit at torso height to judge limb length.
- Top-down checks catch uneven mirrors.
- Low-angle checks preview scare factor for Scary Designs.
- Extreme zoom on stickers should wait until motion passes.
If you only ever edit from one three-quarter angle, you will ship clipping on the hidden side.
Selection pitfalls
Stacked stickers can steal clicks from limbs—hide or lock decorative layers if the UI allows, or temporarily remove them. Tiny toes are easy to miss; zoom in when typing legs. Tails vs rear legs confuse selectors on digitigrade kits; confirm the highlight outline before changing type.
Deselect explicitly between operations. Many “mirror duplicated the head” stories start with a leftover selection.
Mirroring controls in practice
Think of mirror as a commit button:
- Hotkeys or UI buttons that say Flip / Mirror / Symmetry all mean “copy now.”
- Do not spam the control; repeated mirrors on already-mirrored pairs create stacked ghosts on some creative tools.
- After mirror, tap each side once to verify both share the same part type.
If your device shows a confirmation modal, read it—some builds ask which axis to flip.
Animation preview controls
Open the preview panel and click through:
- Stand
- Walk
- Hit
- Slam
- Stomp
- Tail whip
Leave a clip running while you orbit. Motion reveals weight better than scrubbing thumbnails. Stop previews before entering shop menus to avoid soft UI locks on lower-end devices.
When a clip looks wrong, change one control-related variable (type or length), not five stickers.
Desktop vs mobile
Desktop — Faster precision, easier multi-window codes list, clearer hover labels. Use it when learning types.
Mobile — Tap accuracy matters; zoom more often; paste codes carefully. Take breaks—fat-finger mirrors hurt.
Mixed — Build structure on desktop, recheck touch UI later if you mainly play on phone.
Roblox performance settings that cut quality can hide clips; bump graphics while editing if your hardware allows.
Shop, codes, and play switches
Controls also include knowing when to leave the editor:
- Redeem via the flow in Codes documentation.
- Enter modes with a saved monster—unsaved experiments vanish from your brain even if the client autosaves oddly after updates.
- Return with notes from Game Modes about lighting and camera distance.
Practice drills (15 minutes)
- Select each limb and announce its type out loud.
- Mirror a single arm five times on a throwaway save until clips stop surprising you.
- Run the animation battery without touching colors.
- Intentionally set an arm as a tail, preview whip/hit, then fix it—so you recognize the failure signature forever.
- Save, reload, confirm types persisted.
After updates
When Updates mention UI polish, spend five minutes remapping: find select, type, mirror, preview, save. Do not assume yesterday’s icon nest still applies. Ignore chat scripts that promise “auto mirror hacks”; see Scripts.
Good controls make craft feel calm. Once select → type → place → mirror → preview is muscle memory, every other guide on the Guides Hub becomes easier to execute.
Frequently Asked Questions
Quick answers for builders, codes, and game modes.
What Monster Maker control should I learn first?
Part select plus part type. If you cannot reliably highlight a limb and set arm/leg/tail, mirroring and previews will fight you.
Why does mirror keep breaking my build?
Usually a dirty selection, asymmetric source side, or repeated mirror spam. Clean one side, mirror once, then inspect.
Are keyboard shortcuts the same on mobile?
No. Mobile relies on taps, pins, and on-screen buttons. Learn the concept order, then map it to your device.
When should I run animation previews?
After typing and mirroring limbs—before heavy sticker work—and again after any shop purchase.
Controls look different after a patch. What now?
Remap the core concepts on a fresh server and check the Updates Hub. Icons move; the select-type-mirror-preview loop stays.