Monster Maker How to Make Better Monsters
Workshop craft for readable silhouettes, correct limb roles, and animations that feel alive.
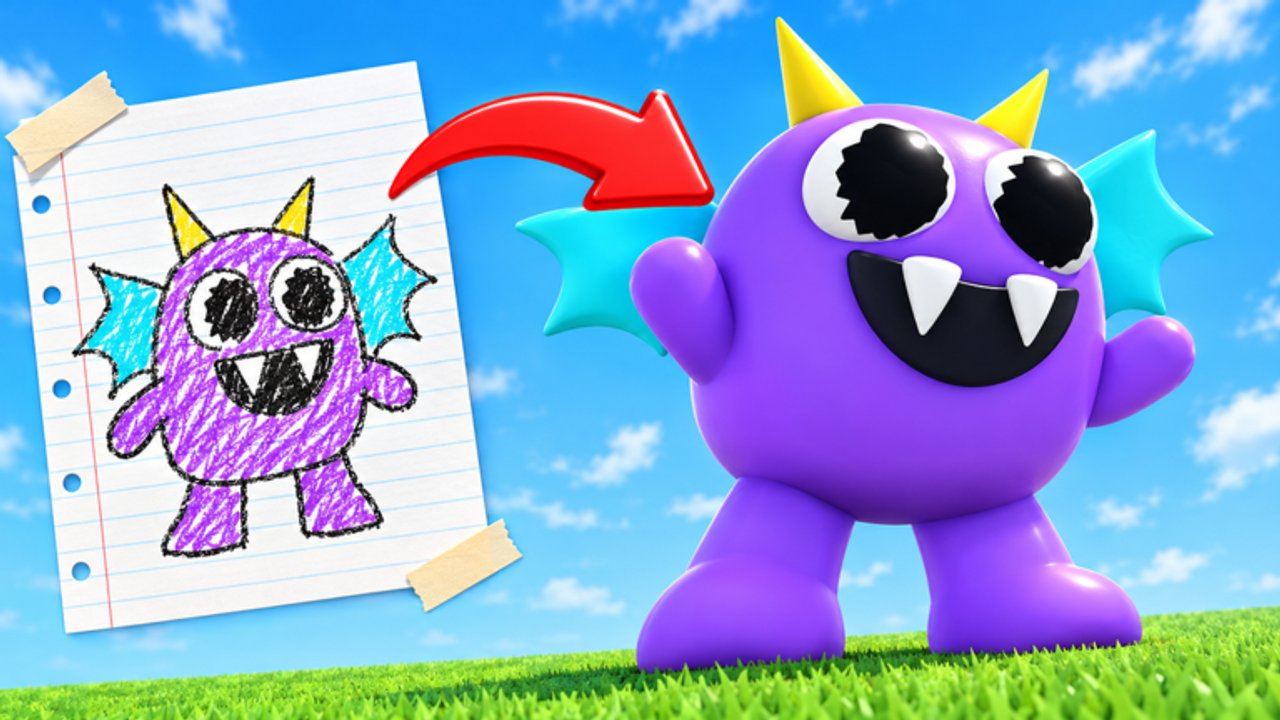
This guide is the deep workshop companion to Getting Started. You already know Monster Maker lets you snap heads, bodies, arms, legs, and tails together, paint with stickers and eyes, buy shop kits, and preview motion. Now we focus on making better monsters—the kind that still look intentional after walk and slam tests and still read in community browsing.
The mid-page video walks through practical improvement habits; the sections below turn those habits into a repeatable pipeline you can run on every save.
The improvement pipeline
- Intent — Pick a job: mascot, stalker, bruiser, famous recreation, or experiment.
- Skeleton — Block torso, head, limbs with S/A parts from Best Parts.
- Typing — Assign arm/leg/tail roles before decorating.
- Mirror — Symmetry pass with clipping fixes.
- Motion — Full animation battery; adjust lengths.
- Surface — Eyes, mouth, limited stickers, palette.
- Context — Check in game modes and galleries (Players).
- Iterate — Save
name_v2with one change at a time.
Skipping straight to stickers is how you get pretty disasters.
Part types without tears
Animations key off roles, not vibes.
- Arms drive hit swings and idle gestures.
- Legs plant walk, slam, and stomp.
- Tails own whip arcs and balance reads.
If you want a punchy front limb, type it as an arm even if the mesh looks like a tentacle. If a tentacle should whip behind you, type tail. Document your choices in the save name (stalker_armslong_v3) so future you remembers.
Wrong typing is also why “better monster” videos look magical: creators quietly fix roles while viewers only notice colors. Verify after every shop purchase.
Mirroring like a pro
- Finish one side completely (length, angle, type).
- Mirror once.
- Inspect armpits, horns, and toes for clips.
- Fix asymmetries on purpose afterward (one scar, one broken horn)—do not invent accidents.
If mirror flips fight you, simplify the source side. Ultra-asymmetric kits are advanced content; beginners should prefer mirror-friendly packs ranked in the parts tier list. More input detail sits in Controls.
Silhouette drills
Squint or zoom out until details vanish. You should still recognize:
- Head mass
- Shoulder width
- Leg length
- Optional tail counterweight
If the blob is a fuzzy star of spikes, remove pieces until the job from step 1 returns. Horror designers can lean on Scary Designs; fame hunters should study structure in Famous Monsters before cloning colors.
Proportion recipes
Mascot — Bigger head, shorter legs, round torso, bright eyes.
Stalker — Smaller head, long legs, arms past mid-thigh, muted palette.
Bruiser — Wide torso, thick arms, sturdy legs, quiet face.
Showpiece — Balanced biped plus one signature prop (horn set, crest, patterned torso).
Keep recipes pure on early attempts. Hybrids come after you can nail motion on each archetype.
Animation battery (non-negotiable)
Run in order every time:
- Stand — floating? sink feet.
- Walk — moonwalk toes? shorten or retype legs.
- Hit — check which mesh leads.
- Slam — weight through arms/torso into ground.
- Stomp — legs must own the beat.
- Tail whip — disable if no tail; never fake with arms.
Record mental notes; change one length variable; retest. Resist the urge to buy a new head mid-debug.
Surface design that supports motion
- Eyes: highest contrast on the model.
- Mouth: one clear shape beats five overlapping jaws.
- Stickers: follow muscle lines; avoid noise on joints.
- Colors: two base hues + accent. Metallic rainbows hide limb separation.
Shop eyes/stickers after the rig walks. Currency from codes should follow that order.
Using references ethically
Pause community favorites, note three strengths, then rebuild from a blank save. Do not chase unverified copy tools—see Scripts. When you post elsewhere, credit inspirations. Inside Roblox, let the work speak and keep chat constructive on 24-player servers.
Polish checklist before publish
- Intent still obvious at distance
- Types correct on every limb
- Mirror clips fixed
- Animation battery passed
- Palette limited
- Save named and backed up
- Mode lighting checked after recent updates
Practice plan (three sessions)
Session A — Perfect a mascot biped.
Session B — Rebuild as stalker using same torso kit.
Session C — Add scare pattern or famous silhouette twist.
That progression teaches transfer, not one-off luck. If November-style patches land mid-plan, retest per November 2026 before concluding your craft “got worse.”
Better monsters are mostly better decisions: type honestly, mirror patiently, animate ruthlessly, decorate last. Repeat the pipeline and your gallery presence will rise without a single shady shortcut.
Frequently Asked Questions
Quick answers for builders, codes, and game modes.
What is the biggest mistake when making Monster Maker monsters?
Decorating before fixing part types and proportions. Animations expose wrong arm/leg/tail roles instantly.
How do I mirror without clipping?
Finish one clean side, mirror once, then inspect joints. Simplify asymmetric kits if the flip keeps failing.
Should I copy YouTube monsters exactly?
Use videos for technique—like the embed on this page—then rebuild with your own proportions and credit inspiration when you share.
When do I buy shop stickers?
After the rig walks and slams cleanly. Stickers cannot fix a broken skeleton.
How many versions should I save?
Save before risky mirrors and after each successful battery. Incremental names beat a single overwritten file.